

02 Mar Avakas Gorge before and after
The dark and contrasty Avakas Gorge
The Avakas Gorge was super contrasty with direct sun streaming in and lighting some walls with a golden sandy glow. I exposed to get detail in the highlights knowing that I could rescue the shadow detail in the Raw file converter.
Why did I do this? Well I find that I can rescue detail in the shadows and the trade off is some noise (grain). I struggle to get back the super bright highlights that have been very overexposed. This way of working comes from my film days of photographing with transparency. The thinking was to photograph for the highlights in transparency but for the shadows in negative film. I rightly or wrongly equate digital to transparency.
I did bracket this scene. This means taking pictures at varying exposures above and below what you think is correct, however never rely on your auto setting as your camera, as good as it is, doesn’t understand the scene and the context of the light. See our why your camera lies post for more details. See our post with more information and images.


What happened in Raw
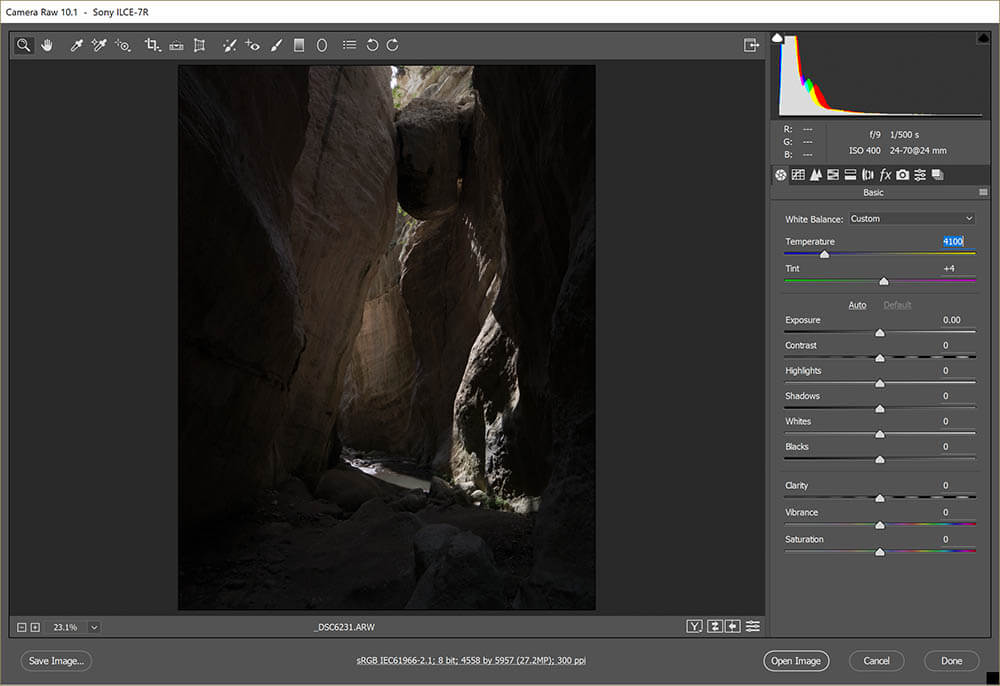
Out of camera Raw file
In Raw I then did the basic exposure as well as colour and contrast corrections because I like to get a good starting exposure and neutral colour to work from. As you can see in the screen shot below I pulled the Highlights slider back to get more detail in the bright sunlit areas.
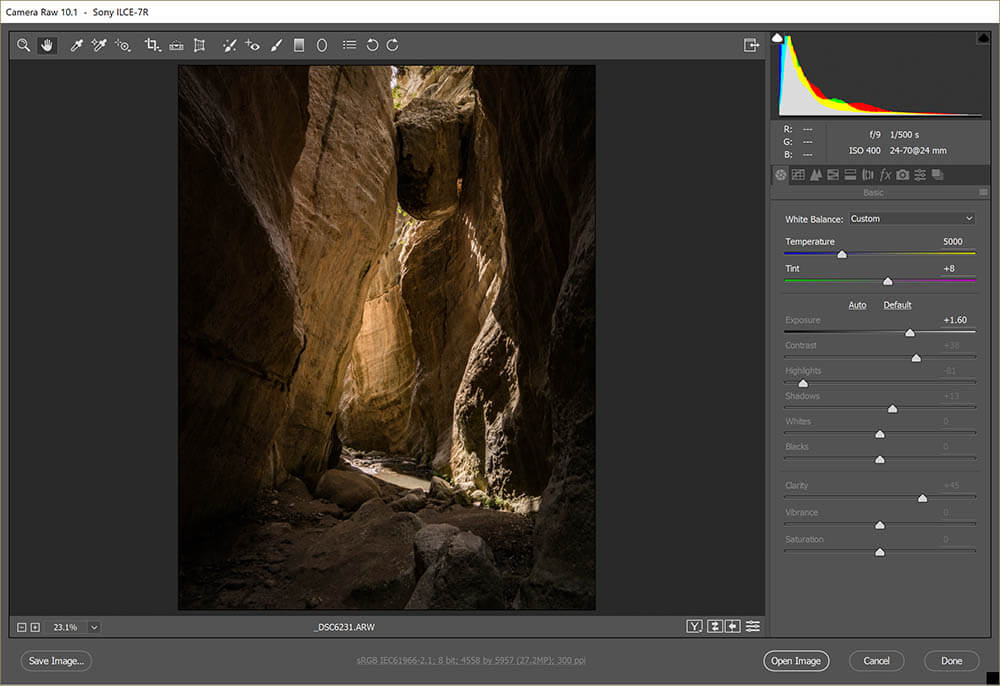
Basic corrections in raw
Next, was to lighten and darken various areas like I would do by dodging and burning a traditional B&W print. The difference here is that I can also adjust colour and contrast as well as exposure.
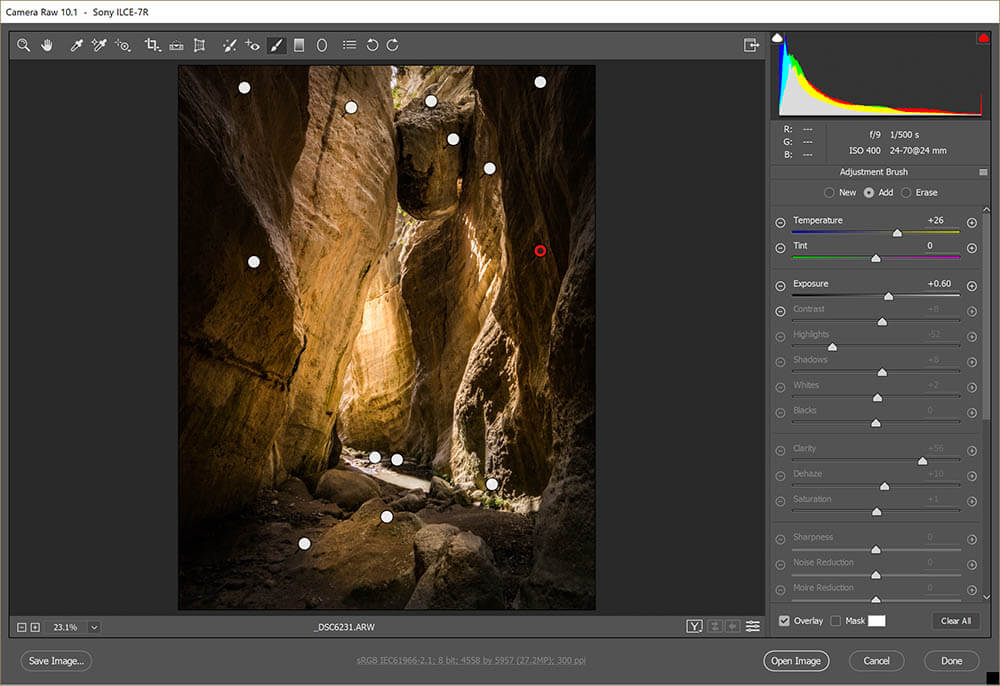
Area adjustments in Raw
A vast difference from the original with very little work.
Have a look at a similar technique I used on this London Temple.
Cyprus – Avakas Gorge
No Comments