23 Jul Best techniques to photograph the Jurassic coast
Finding the Jurassic coast
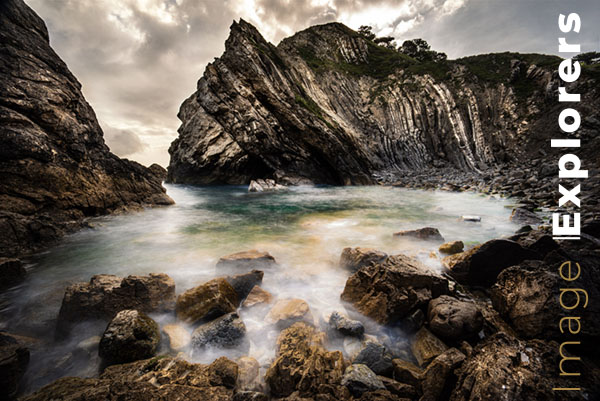
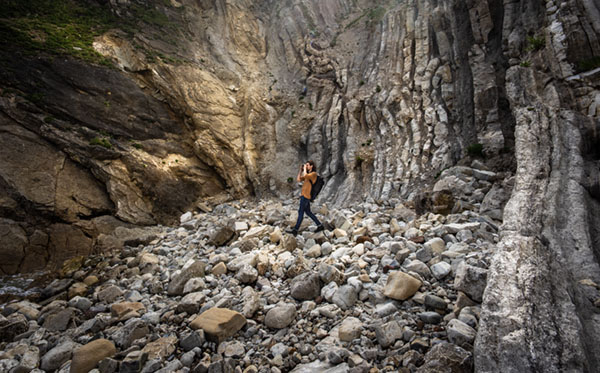
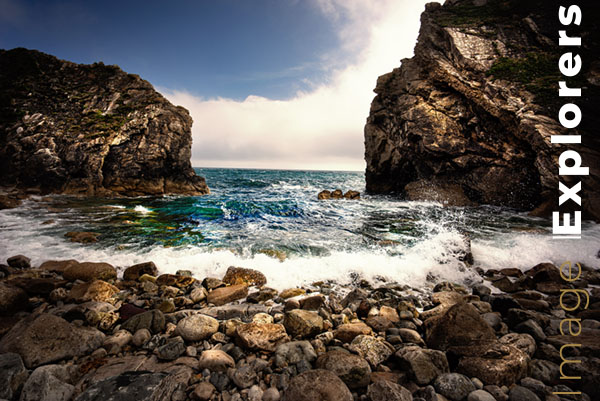
To photograph the Jurassic coast where dinosaurs used to prowl, incredible plant-life grew, and the steamy swamps took the life of many an unwary creature, you would think we would need to travel to an exotic Island. Maybe somewhere where people had never set foot? Possibly near the tropics as we need the heat for the steam? Err no. The image you see here was photographed at a south of England (UK) seaside holiday town in full summer school holiday swing.
Where to go
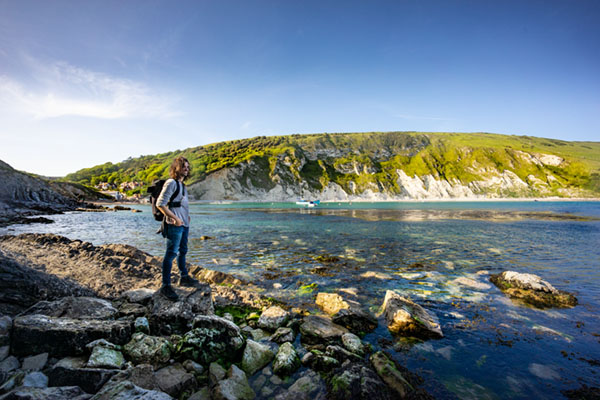
So a few weeks ago I (Tim) went down to the south of the UK to visit our son Jethro, who is not only a designer and illustrator in Bournemouth, but also an avid photographer with a beautiful minimalist and graphic style to his images. Jethro had a really good idea about going to a seaside town called Lulworth cove to photograph the Jurassic coast. Lulworth is in the county of Dorset which is on the south coast of England. About 2 hours drive south west of London. This UNESCO world heritage site coastline is known for its rich supply of fossils from the Triassic, Jurassic and Cretaceous periods and is now called the Jurassic coast. I immediately had visions of moody dark brooding images.
Equipment
As I have mentioned in many of these posts, we like to travel really light as we feel the weight of your equipment is inversely proportionate to your creativity when adventuring. With this mantra in mind I put together a minimal but effective kit.
Lenses
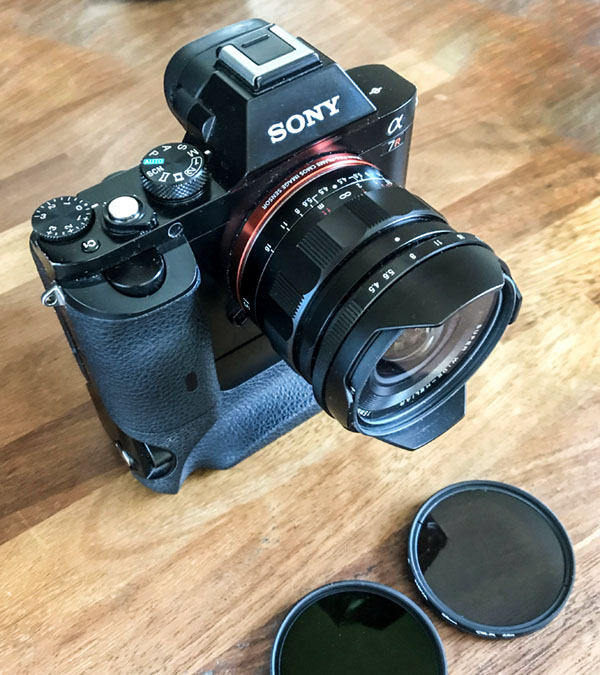
I envisaged a wide vista, with detail in the foreground, stretching to the horizon in total focus, so my main lens was a Voigtlander Super Wide-Heliar 15mm f/4.5 Aspherical III. This lens is super sharp, totally mechanical and quite small. I also put in a 28-70mm Sony kit zoom as a ‘just in case’ lens.
Filters
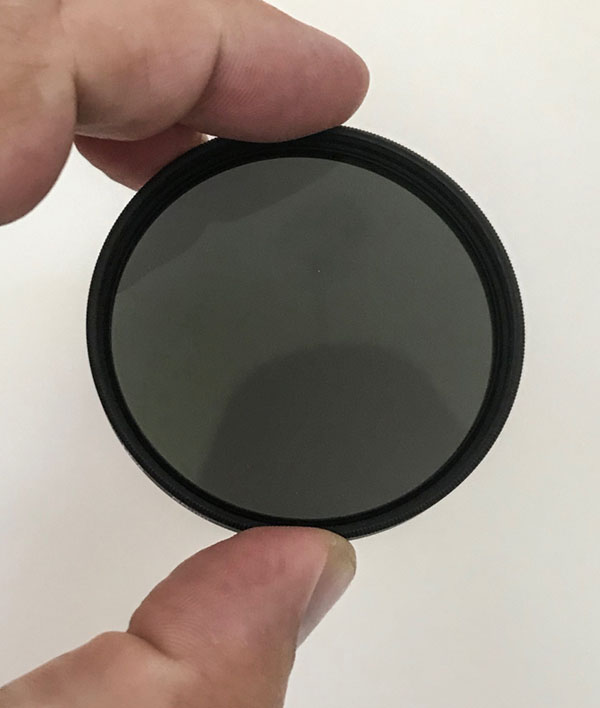
I added ND filters for both these lenses so I could do long exposures to create the misty water look, and polariser filters to take off the reflections from the water and the wet rocks. Naturally I had UV filters on the lens to protect it from the sea spray.
Pro Tip: Take spare UV filters when you’re in an area with dust or spray as it’s much easier and faster to put on a clean filter than it is to clean the dirty one
Camera
Sony A7r body. I normally use a vertical handgrip as it takes 2 batteries, but I take it off when using a tripod as it is more stable without it. Jethro shoots with a Sony A6000.
Tripod
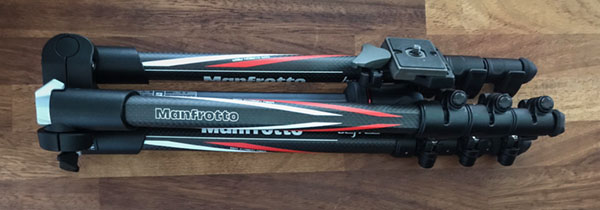
We have more tripods at home than is healthy, from a 4×5 large format camera studio Gitzo through to a tiny ultra-light travel tripod that is really only good for a Kodak Instamatic. (You will know what these are if you are either over 50 years old or a hipster.) I chose the Manfrotto BeFree carbon fibre travel tripod as it’s ultra light, 1kg but very stable.
Bag
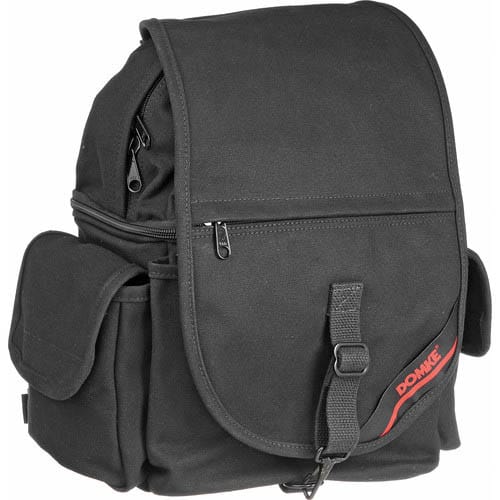
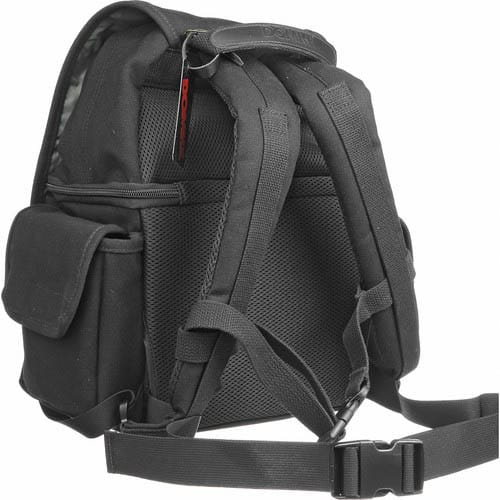
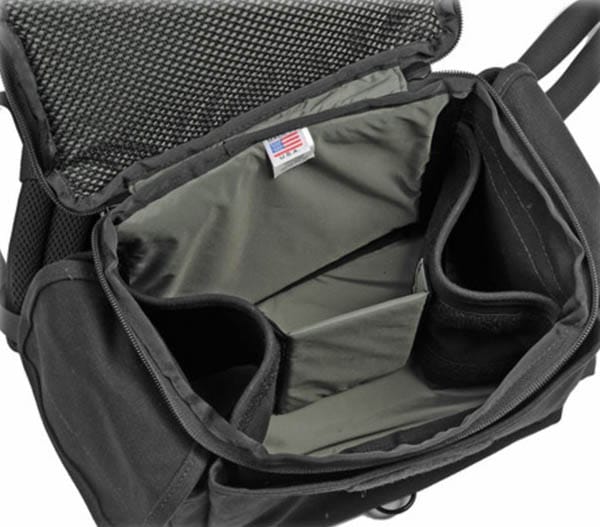
Both Ally and I love our camera bags but for this trip I choose to take the Domke backpack. Very light, small but with enough room for everything and I can even attach the tripod to it.
“Your creativity is inversely proportionate to the weight of your gear.”
So that was all. Super light but everything I needed for the image I had “pre-visualised” (as the late, great Ansel Adams would have said).
The problem with photography during holiday seasons
Ally and I had been to Lulworth Cove before during Christmas a few years ago, and spent a few evenings photographing the deserted coastline at sunset and early morning. So very peaceful. I really shouldn’t have been surprised though, when Jethro and I arrived to a jam-packed car park and kids and dogs running around as it was a beautiful summer holiday. My first reaction to this was to think that we were never going to get a good image. Still… We were there and we would make the most of it.
Recce the area
Rather than jumping right in and shooting immediately we spent a good amount of time looking at various areas and deciding which area would be best to invest our efforts in. We started with the top of the hill where we could view most of the area and found the area we wanted to shoot. Unfortunately, the sun was too high, so we needed to kill about 2 hours, so some exploring and snacking were in order. The chips from the local Fish and Chip shop were excellent and well worth the wait.
Composition
I chose the scene I did for various reasons.
The water had came up to the rocks and I knew it would work well for a misty Neutral Density filter long exposure.
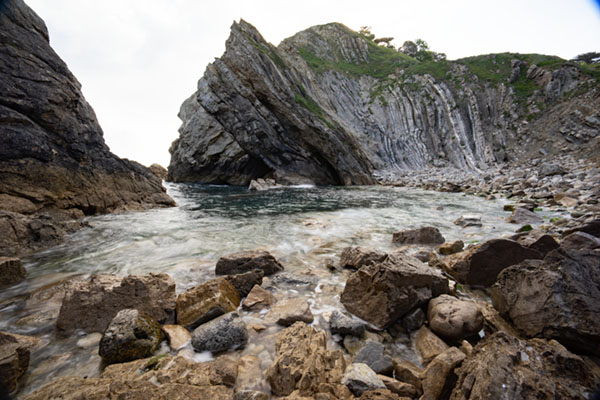
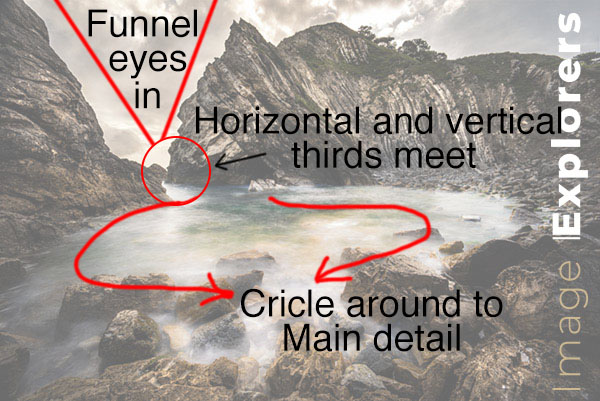
The composition meant that the horizon was on the horizontal third and the point of entry into the bay was on the vertical third. Very classical composition method.
The sky is a V=shape and funnels you down to the bay entry point there. Your eye then goes about exploring the bay water until finally resting on the foreground misty effect.
The photography
The easiest part of the whole process. With the camera on the tripod and the ND filter on, I was able to get an exposure of 3.2 seconds at F22 with an ISO of 50. Just enough time to get the misty feeling, without losing the texture of the water. In these situations, it is normally wise to make several exposures as it is so easy to get camera movement during the long exposures that can ruin your image.
Timing is so important during these shoots. I waited until the small waves were about a second from breaking on the rocks to take my exposure. This gives the misty effect.
Doing some extra exposures at faster shutter speeds, stopped down, meant there were dark sky images to use too.
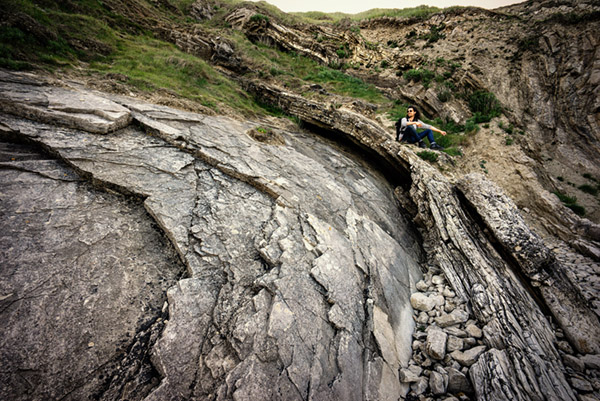
One last composition
I tried a second composition and froze the splashing waves, but it didn’t have the brooding Jurassic photography feel I was looking for.
Did it work?
Whilst I judge the success of a shoot on the final results that is only one aspect of photography. Yes, I was really happy with my photographs of the Jurassic coast, but more importantly I had an amazing time sharing a photographic adventure with our son.


No Comments