29 Mar How to photograph with a Neutral Density filter tutorial
Photographing with a Neutral Density filter (ND Filter). Why do it?
A Neutral Density filter reduces the amount of light coming through the lens thus giving you longer exposures that you are unable to get in bright light even with an ISO of 50.
Why would you want longer exposures?
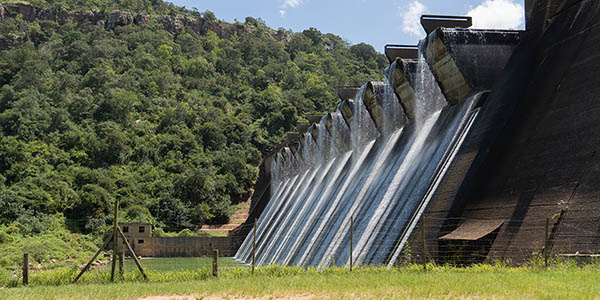
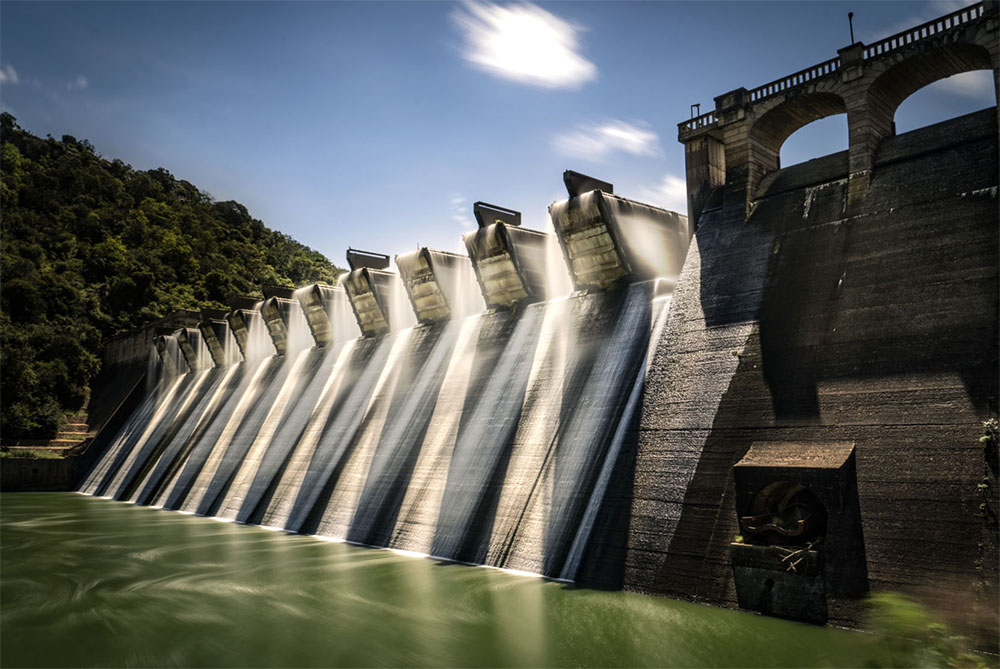
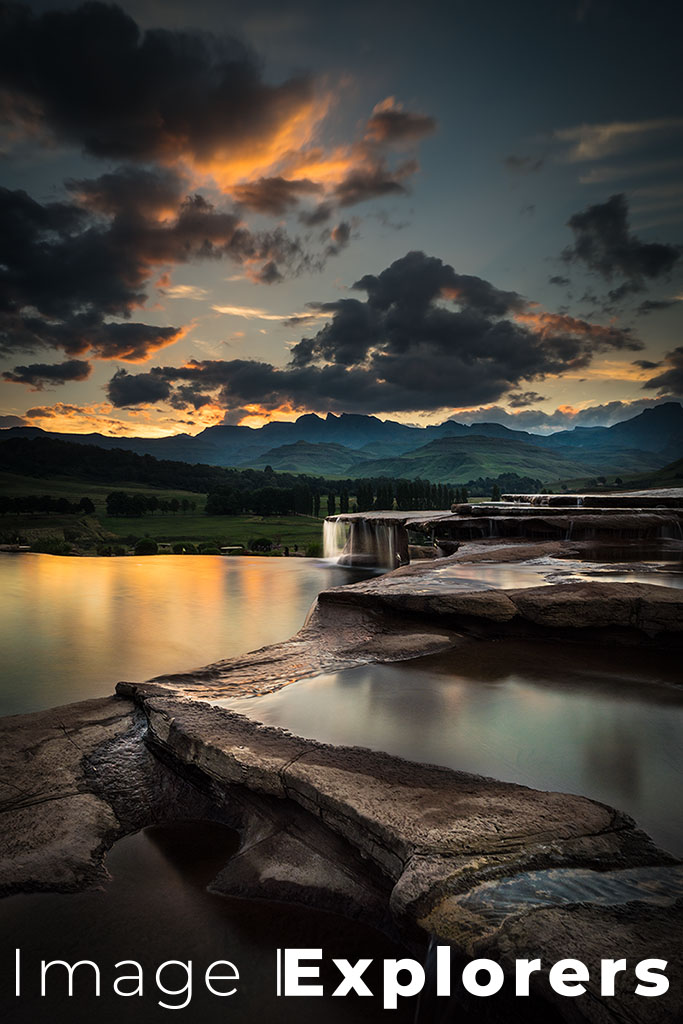
It will capture movement rather than freezing it. This could be either water, people, vehicles or anything that moves. On water this produces an ethereal misty effect and with people it can produce water-like blurs. Very effective if some people are moving and some totally still. We have used this filter a number of times for dramatic effect. Our Shongweni Dam images would have been nothing special without it and it made our Drakensberg images really unusual.

Shongweni Dam, South Africa – with a normal exposure freezing the water is nothing special.

Shongweni Dam South Africa with nd filter and long exposure to add magic to image.
See our post on using this filter for the first time at Shongweni Dam.

Bushmans Nek, Drakensberg, South Africa – Long Exposure with neutral density filter to smooth out water.
What to buy
They come in a variety of stop options, as small as 0.3 of a stop up to a whopping 24 stops. Therefore, with a 10 stop ND filter, your exposure of 1/60 sec at f16 becomes 15 seconds at f16 or 30 seconds at f22 and so on. If you’re not sure which one to get there is also a variable variety. Prices range from cheap eBay plastic versions, through to glass ones that can carry a heavy price tag, by main filter manufacturers.
Doing it on the cheap
If you don’t want to spend any money on a filter before you’re sure you will use one, a quick hack is to buy a plastic welding lens glass for a small amount of change. Attach this to an existing filter with blue tack or modelling clay. Anything to keep the light from entering the gap between the filter and the welding glass. Not the highest quality of filter but it will give you some interesting results for very little money.
Use a tripod
Setting up your image the way you wish to a tripod is essential.
Depending on the brightness of your screen with the filter on you may be able to focus but otherwise focus without it. Then pop your filter on, and set your exposure. You can either do this by working out what it is before putting the Neutral Density filter on then stopping down your shutter speed the number of stops of your filter, or working it out with the light meter when the ND filter is on. Experiment and have fun.


No Comments