

26 Mar Editing in Camera Raw – How to
Editing in Camera Raw
This is how we edited the steam train cab image of the Umgeni Steam Railway train from the before and after post. The following screenshots show the process of editing in Camera Raw to finished photograph.
The image was taken on a very wide angle lens. We bought a Voigtlander 15mm manual lens for our Sony A7r and A7 before we left for a South African trip. Have to be honest here. I (Tim) am a wide angle lens freak. I can’t get enough of them. If I could only have one lens ever, it would be a prime super wide. Not only that, I really like manual focus. Ally, on the other hand has a more rounded view of lenses and is happier with longer focal lengths but will still use wides.
The great thing about wide angles is the huge amount of depth of field they give so for the image below, I didn’t have to focus through the camera. I just set the lens to about 2m and everything from o.5 to infinity was in focus at f11.
I was standing outside the cab and just held my hand with camera inside and pressed the shutter.
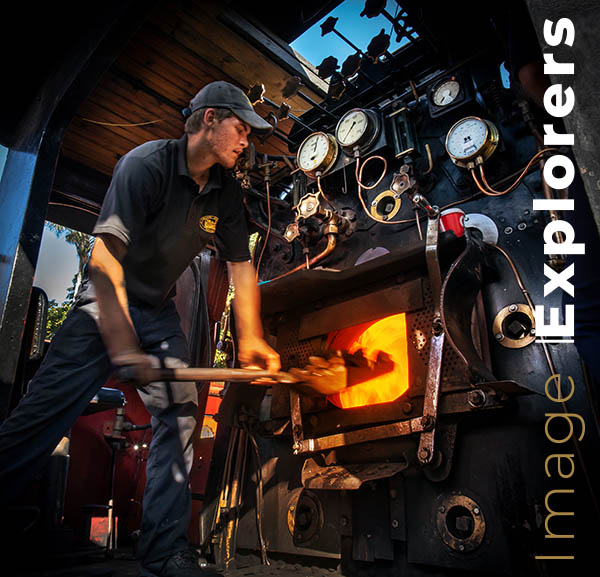
Finished image with Raw editing
The Raw file editing
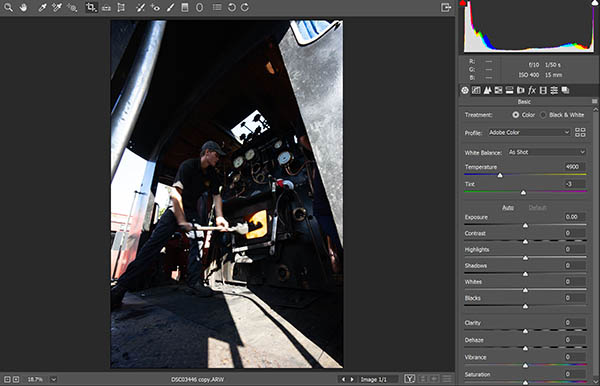
The whole image exactly as it came from the camera
The first thing to do was to crop the extra unwanted detail away in Raw for a better composition.
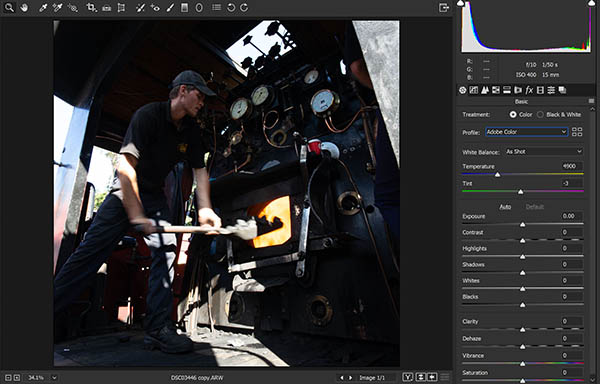
Post crop without any Raw editing
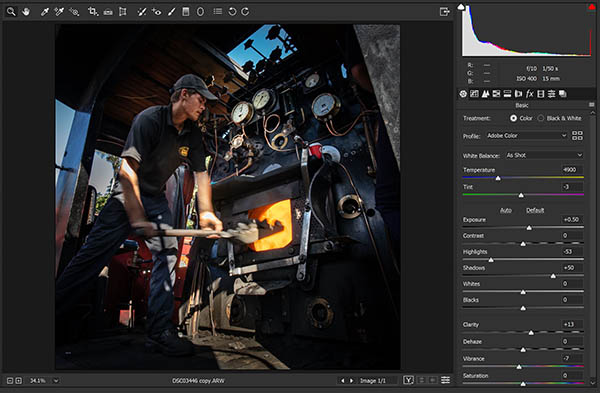
Post crop after global Raw editing
Once this was done I set about doing a global adjustment in Raw. Darker areas were lightened with the shadow slider and the lighter areas darkened with the highlights slider. Don’t over do it or it will look either too flat or like a bad HDR effect. All the editing in Camera Raw here can all also be done in Lightroom, Affinity Photo or any other raw file editor.
Doing the dodge and burn dance
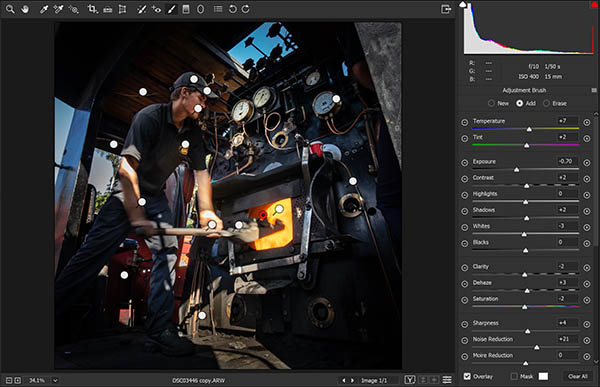
Most of the work on this image was done with adjustment brushes. Every little white dot you see on the above screenshot is an adjustment brush. Most of the brushes affect the lightness / darkness as well as clarity (micro-contrast) and finally saturation and colour.
The image was finally taken into Photoshop for resizing and sharpening.
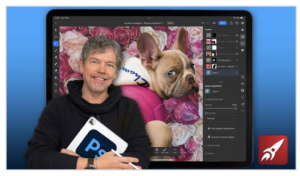
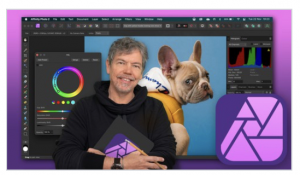
If you wish to learn Photoshop on the iPad or Affinity Photo on the iPad have a look at our Udemy courses below.
Remember – All the adjustments I have done are just a form of dodge and burn but affecting colour and contrast, not just dark and light. All the great photographers from Dorothea Lang to Ansel Adams used dodge and burn so you are not ‘cheating’.

Final image verses the original from camera Raw file. Drag the slider to see the difference between before (right) and after (left).
No Comments