

17 Sep 5 Professional techniques to make a photo look old
5 professional techniques to make a photo look old

Occasionally, in your photographic life, you will find that creativity comes to a grinding halt. A bit like writers’ block! You are bored of looking at super sharp, over-saturated, perfectly grainless travel images and your creative soul longs for something more. As amazing as digital is, it can be too perfect and our humanity likes imperfections. Of course, maybe you just want to try something different. Possibly you yearn for analogue film days but have a digital camera, or sometimes a specific subject just cries out for the vintage look. Whatever the case, we would like to show you how to reinvigorate your photography with 5 professional techniques to make a photo look old.
Here are the techniques we will cover so grab your software and follow along.
1 – Sepia or blue tone (cyanotype) using black and white Adjustment layers
2 – Split toning using raw files or raw filters
3 – More accurate tone types using Gradient Maps
4 – Adding grain
5 – Adding a photo border
What software can you use?
Although for these techniques to make a photo look old are done in Photoshop Creative Cloud, you can do most of them in any other software. We recommend either Photoshop, Lightroom or Affinity Photo, but there are so many different image editors available to you at different price points. Most tend to work in a similar way and use the same terminology.
1 – Sepia or Cyanotype tone using Black and White Adjustment layers
What is it?
A Black and White Adjustment layer allows you to non-destructively colourise your image to a tone approximating a Sepia or Cyanotype photograph.
How to do it
- Open your image in Photoshop. It doesn’t matter if it is a colour, black and white or even a scan. You will need to then apply an Adjustment layer so go to the Layers panel and click the new Adjustment layer at the bottom. From the list chose Black and White.
- Click the tint button and choose a suitable colour.
- If you are adding this adjustment layer to a colour image then adjust the sliders to lighten or darken various colours in the image to taste.
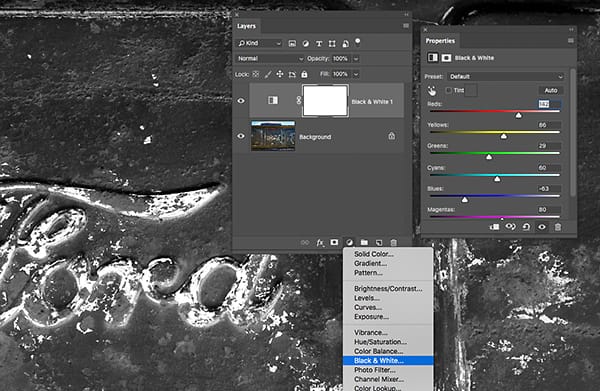
Choose Black & White from the Adjustment drop-down menu
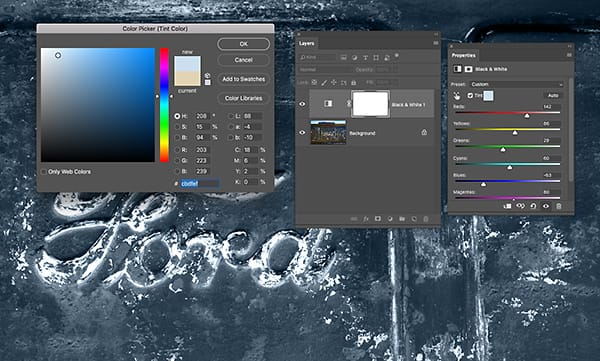
Click the small tint button above the sliders to choose a toning colour
Why are we using an Adjustment layer rather than doing this from the image and adjustments menu? If you use Adjustment layers and save as a PSD file you can always come back and adjust your settings later, as nothing is set in stone. You can also delete or hide the Adjustment layer to get back to your original image.
This black and white tint process enables you to do a very rough approximation of a Cyanotype or a Sepia image. Later in this post we will do a more accurate version of toned images. See our previous post on how to make a digital cyanotype including making the background!
2 – Split toning using raw files or raw filters
What is it?
Split toning is a technique that allows you to tone the highlights of the image with one colour and the shadows with another.
How to do it
- If you have a Raw file then open the image in the Raw file converter and switch on the Black and White convert button.
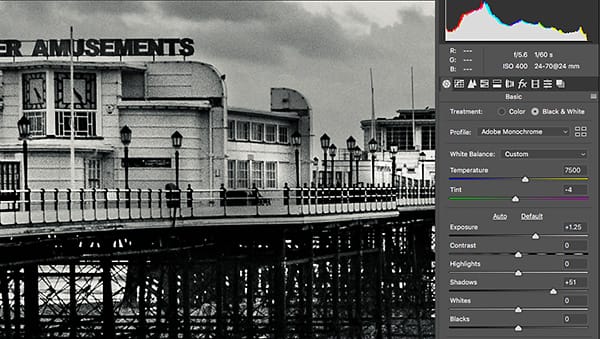
Convert colour to black and white in Raw by choosing button in basic tab
- Open the tone tab and lighten the colours to taste.
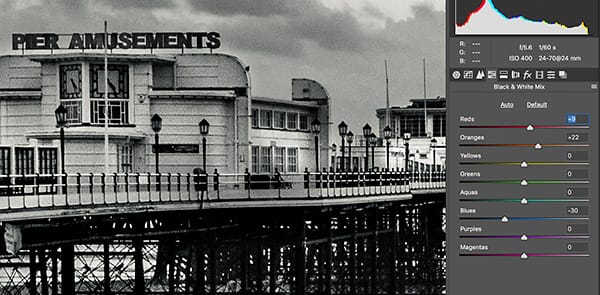
Adjust sliders to lighten and darken original colours for authentic old vintage photo feel
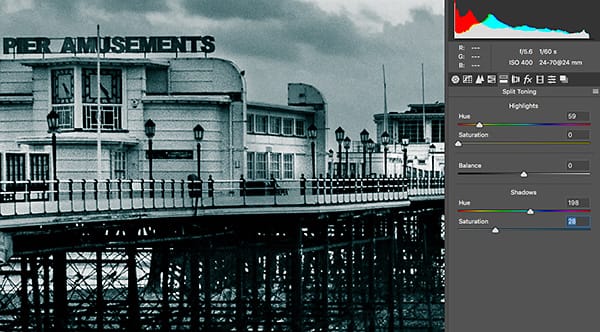
- Open the split tone tab and choose a colour for the highlights and for the shadows. You can then dial in the saturation and even change the balance so you get more shadow colour or more highlight colour.
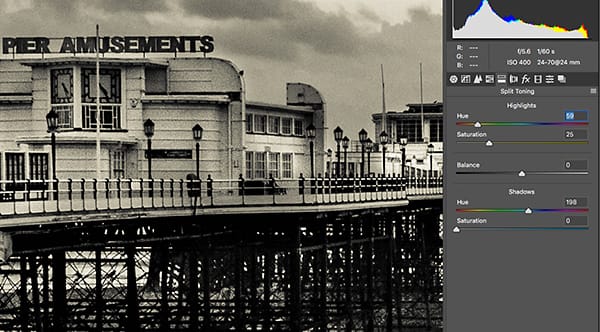
Yellow highlights
Blue shadows

Mix of yellow highlights and blue shadows for a greenish look
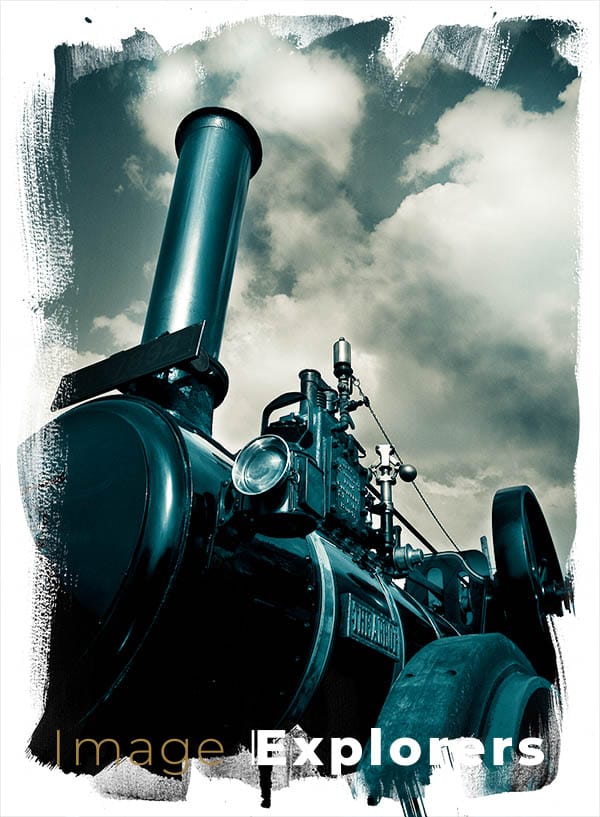
Mix of yellow and cyan for old photo look of vintage traction engine
A mix of yellow highlights and a reddish shadow can give a very beautiful warm sepia feel.
To do the same to a non-Raw image, open it in Photoshop and then go to the filter menu and down to Camera Raw. Follow the instructions as above. If you are using this technique to make a photo look old you might wish to convert the image to a smart object first. This means that you can double click the filter on the smart object layer and go into the filter to change any settings.
3 – More accurate tone types using Gradient Maps
What is it?
A Gradient Map allows you to map colours to various tones (light to dark) in an image by applying a gradient with the new colours in. If this last sentence sounded like Geek Speak then just look at the examples to see what we mean.
How to do it
- Open the image in Photoshop and find your layers panel.
- Click the Adjustment layer button at the bottom and choose Gradient Map.
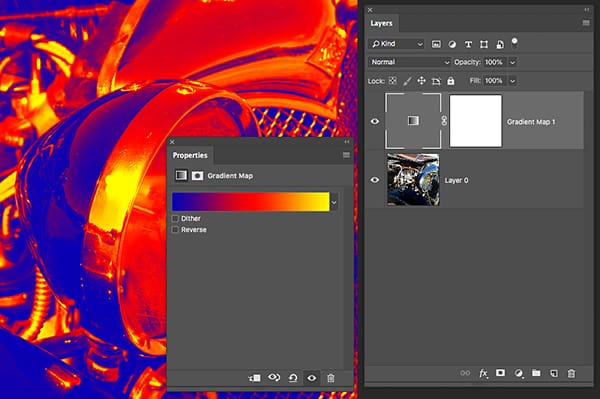
- In the Gradient Maps panel go to the gradient map and choose the drop-down menu and add in the Photographic toning maps.
- Choose a tone to apply to your images.

Choose Photographic Toning from the Gradient Map option menu

Cyanotype gradient colours mapped to image
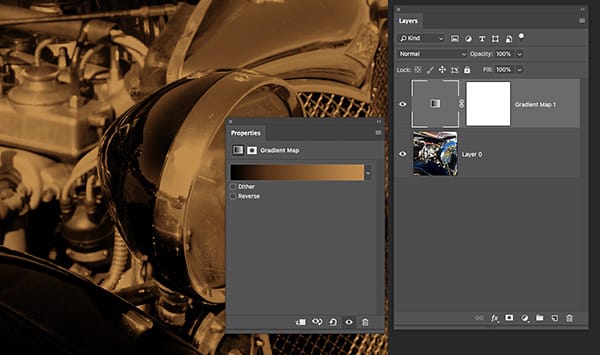
Gradient map with a heavy sepia so the highlights go orange/brown
Of course you can just go wild
Our favourite tone is the Selenium no 2 tone. See more on Gradient Maps in our how to photograph like Michael Kenna tutorial.
4 – Adding Grain
Why do it
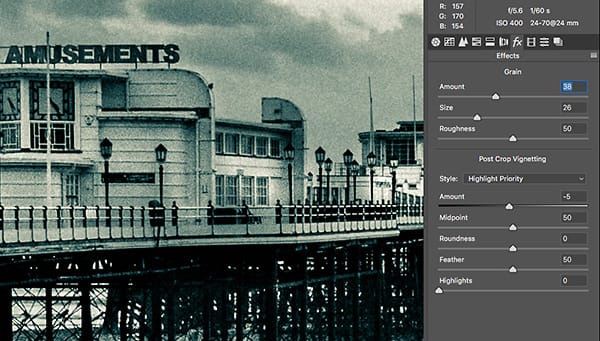
Adding grain can cover a multitude of bad-retouching ‘sins’. It can also augment an image. What it cannot do is to make a bad image better.
We like to add a bit of grain to some digital images to give them a more analogue feel.
How to do it
Grain can be added either in Raw (from the effects tab), from the Raw filter (in Photoshop) or from the add noise option (in the noise filter in Photoshop).
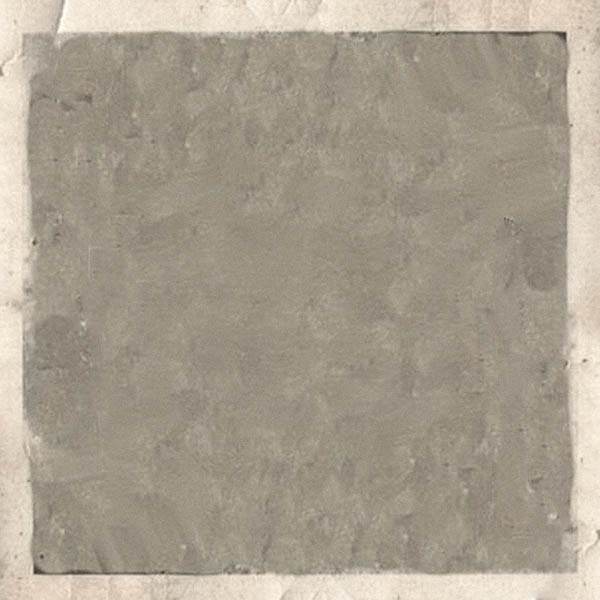
5 – Adding a photo border
A scanned border can make all the difference to the authenticity of your old photo technique. Scan in and old image, put it above your image in the layers panel.
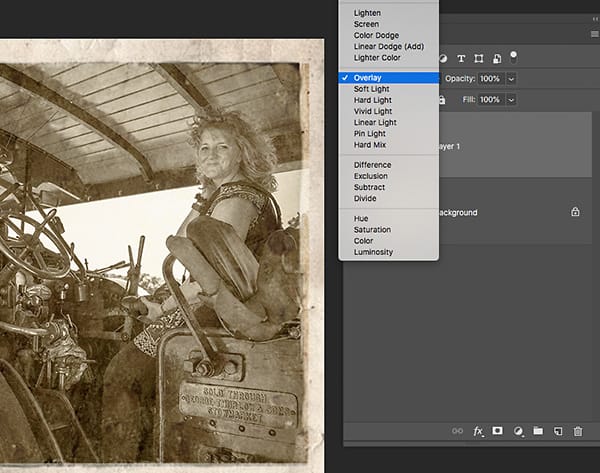

The first thing to do once you have both images open in Photoshop is to drag your toned image into the border image as a layer. (We flattened the toned image before dragging it onto the border image to keep things simple.) We used ‘overlay’ from the Modes drop-down menu in the layers panel to mix the toned image with the border image below.
Here are 2 before and after examples
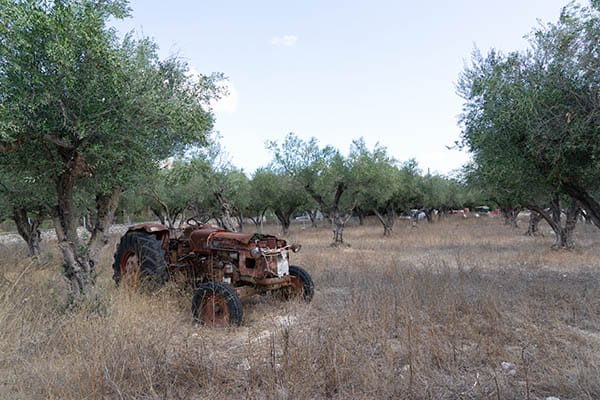
Original tractor before ageing process
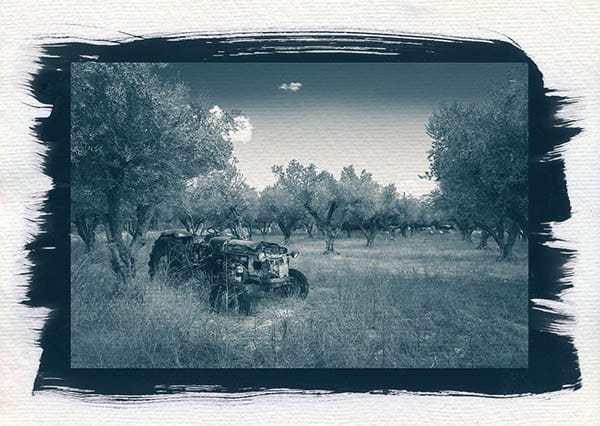
Tractor with old photo look – Zante Greece
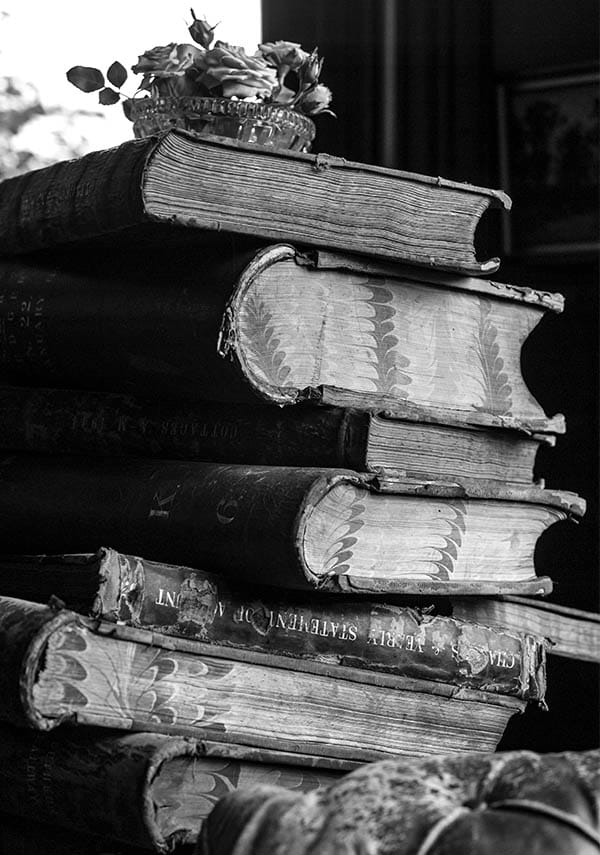
Original books before old vintage photo treatment
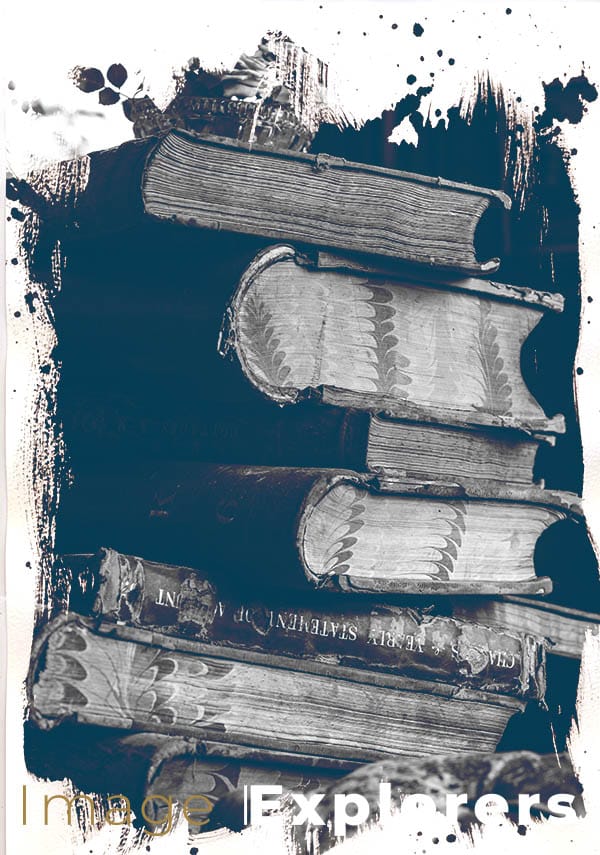
Original books after old vintage photo treatment
Your own look
These are just a few of the many techniques you can use to age a photo and give it that old treasured image look. We use the Gradient map with Selenium tone on most of our Black and White images to give them a warm feel.
Experiment with these techniques and come up with your own unique look.
No Comments